
This weekend marks the 140th anniversary of a Scandinavian
Association or club in this state. To mark the occasion, there is a
street festival tomorrow and I have been given charge of a craft stall.
Being primarily a painter, I have been busy preparing some items for
sale. I decided to share the development of a Telemark Rosemaling
project with you.
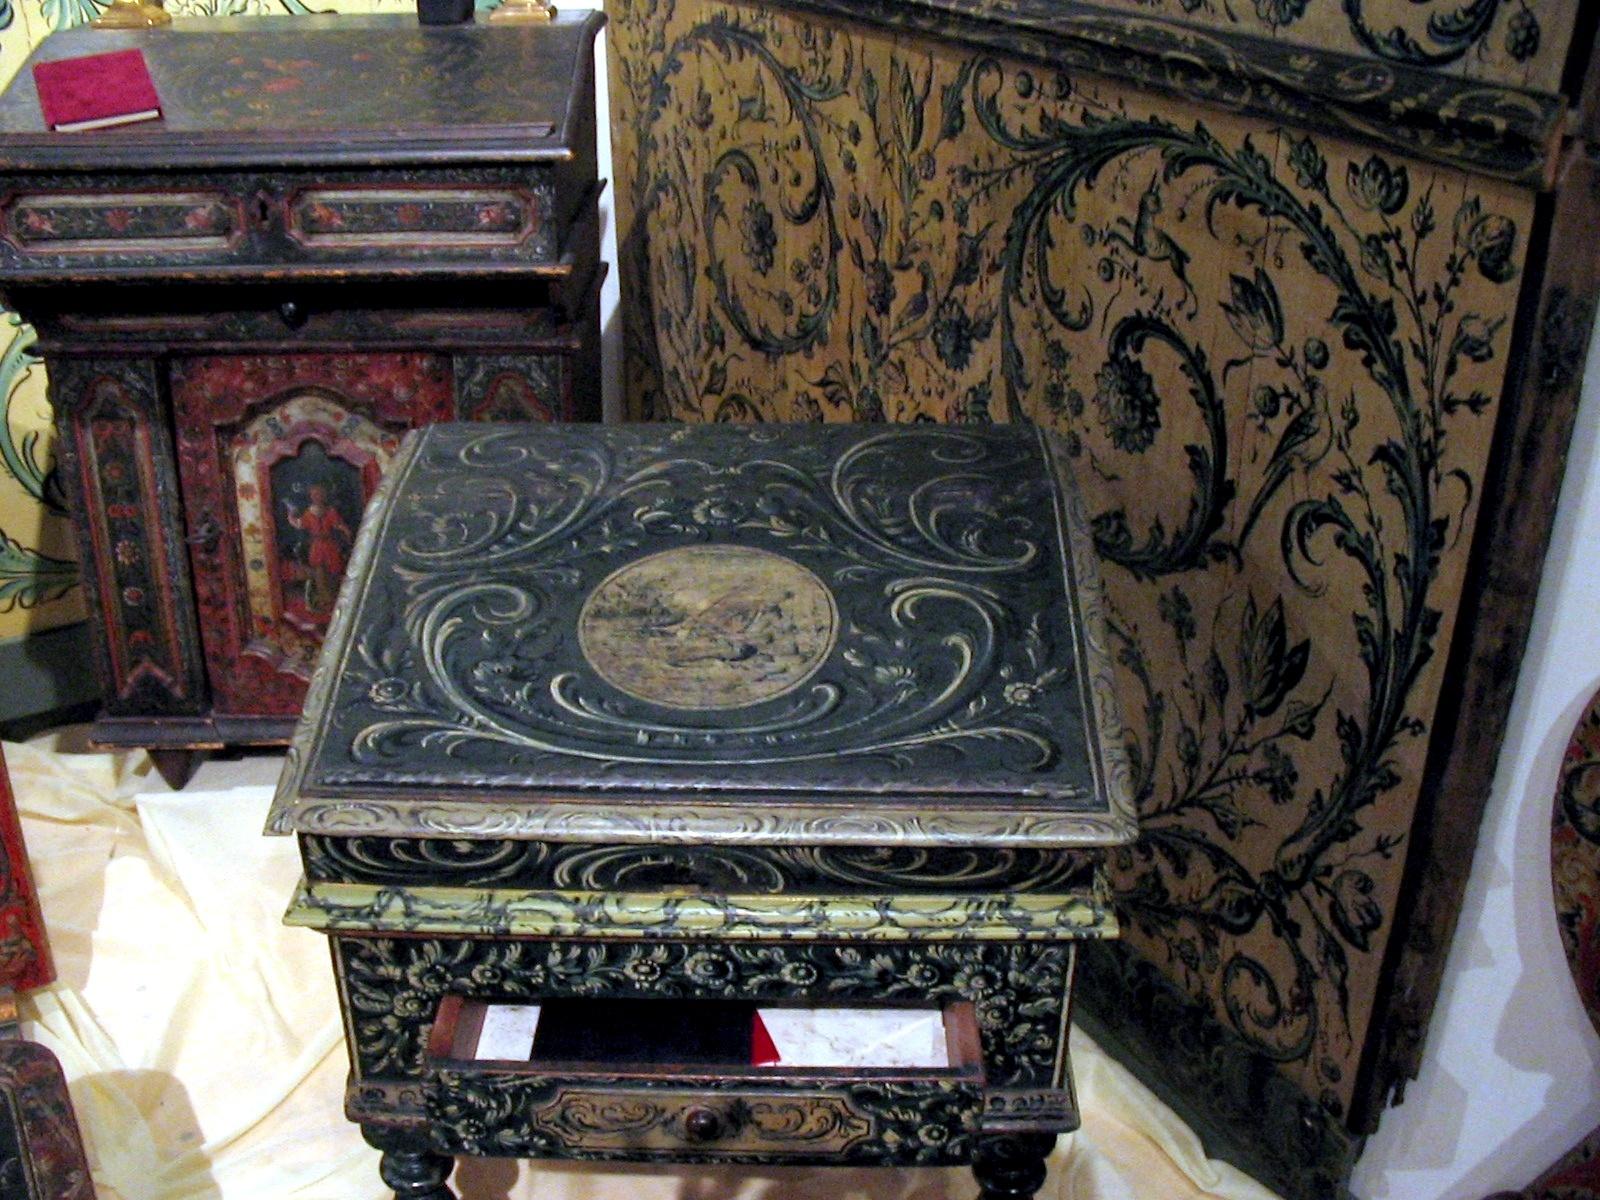
Telemark Rosemaling is the traditional painting of Norway. It reached its zenith in the early 20th Century after Norwegian independence, when a revival movement popularised everything that was Norwegian. It origins date back to religious art forms and the acanthus leaf. In the isolation of the Norwegian countryside, these new fart forms slowly developed into an individual style that differed according to the valley or regions from whence they came. Examples include: Telemark, Rogaland, Hallingdal and others.
Telemark is characterised by free flowing, dynamic scrollwork, and asymmetrical designs. A good introduction to Rosemaling is found in Aarseth's Rosemaling Designs, by Sigmund Aarseth. You will also find a free pattern and project on my website: www.forestwood.webs.com
I painted a wooden Rubbish bin and I will include a small tutorial on painting and designing freehand.
Telemark Rosemaling Tutorial
You will need:
Acrylic paint
Prussian Blue
Smoked Pearl,
Warm White
Filbert or flat brush, about 1/4- 1/2"
Good liner brush, say size 1 or a Quill liner
Sandpaper #400 - #600
Wooden piece
Palette: I make mine disposable for acrylics, by wetting some ordinary kitchen paper towel and squeezing it so it is damp, and wrapping greaseproof paper over the top.
Step 1. Basepaint piece chosen colour scheme. I picked Jo Sonja's Prussian blue and lightened it down with a creamy colour ( JSonja acrylics Smoked Pearl) Two coats. Allow to dry.
Step 2. With non powdery chalk or chalk pencil, chalk in some guiding points, like the root of the design and outside border. If you don't want to paint freehand, you could chalk in the main scroll lines and use a outline for the flowers. Once you get the hang of the shape of the flowers, and what your brush can do, then you can simply mark an x for where the flower will go and its orientation.
You will find a short video here:
Design:
N.B.When designing, keep in mind Balance of shape, size and element. If you divide the design in quarters, there should be a part of the major elements in each. Each quarter should have an equal measure of postive and negative space. Look at the design upside down to distract your left brain from interpreting, giving you a fresh eyes to see any design faults.
Step 3. Load a filbert ( flat with rounded tip) or flat brush in size appropriate to the width you want the scroll to be in darkest value, on ONE EDGE ONLY. In this case: Prussian blue. On the opposite edge, load Warm white or your lightest value. Flatten the brush on the palette so that the colours mix. Repeat.
Step 4. Begin painting the scroll from the top down, applying pressure as you go, so the brush widens, and releasing pressure as you near the end of the scroll, as this will narrow the stroke at the design root.
 Step
5. Repeat the stroke if needed, and add extra shade ( the darkest
value) on the outside of the scroll, to enhance the contrast. Be
careful: Acrylics dry quickly and you may need to use a retarder medium
to slow the drying time, giving you more time to play with the design.
Step
5. Repeat the stroke if needed, and add extra shade ( the darkest
value) on the outside of the scroll, to enhance the contrast. Be
careful: Acrylics dry quickly and you may need to use a retarder medium
to slow the drying time, giving you more time to play with the design.

 Step 6. Paint remaining scrolls in same manner. Try to have them all merging towards the root point.
Step 7. Begin to block in the flowers using shape following strokes, comma, or leaf shape ( S and C strokes) as appropriate. These can be quite casual and double load your brush again with light value on one side and dark value on the other to give your project a natural blended look. Don't worry too much about shaggy edges here, as the liner work will tidy that up.
This is also a free style of painting, it is not Fine Art, and the peasants that originally painted these pieces had little or no training in artistic techniques. So don't stress trying to make it perfect when it is not meant to be so.
Try to achieve a balance of colour as you go. If the brush has blended really well and the light value is lost, add some extra warm white to your cirty brush (ie. don't rinse it clean in water, just wipe on paper towel to remove excess colour.)

Once you have blocked in the flowers, and are happy with the distribution of colour, you can begin the liner work.
Warning: Liner work is very addictive, and it is easy to get carried away with the embellishments and make the design too busy. Beware! You can always add an extra stroke, later, but rubbing out can ruin a design.
You may also like to try adding something like flow medium to your paint to do some liner work. This will help a beginner. Practise a little on scraps of wood or paper first to get the hang of the brush.
Step 8. Scroll Details
Begin by adding enough water to your paint puddle to ensure a inky consistency. Load the brush in the paint and pull it through twisting it gently a little before you lift it from your palette. Place tip on project and gradually increase the pressure allowing the brush to widen the stroke, then release the pressure as you direct the brush tip towards you.
N.B. For best results, liner work should vary in thickness. The last thing you want is for all the outlines to be the same thickness. Variation creates interest in the design.
Outline all the scrolls in a casual manner. Try to move your arm as opposed to just your hand. This helps to create a sense of movement. Be confident. You can clean up any errors, carefully with a cotton bud or Q-tip.


Step 10. Flower details
Outline flowers in same technique with your liner brush. Be individual and don't follow the same outline each time.
Step 11. Embellishments
Add some small detail strokes with a quill or liner brush. They are completed similar to a reverse comma. Starting off with very light pressure and pressing fully down on the completion of the stroke. I double loaded this brush in the picture here, first loading in blue and then dipping the tip of the brush in white. This gives a white stroke with a blue tip. This stroke is very typical of what you see in traditional rosemaling works. Know when to stop. Overdoing it can make a design look too busy!!
 Step 11.Borders
Now you have it! Almost all Rosemaling works have a border design, which can be as individual as you like. I used s strokes around the edges of my box.
All you need to do is allow time for the paint to dry - which can be anything from 2 days to a week depending on weather conditions, oils can take up to 6 weeks to fully dry.
Then a coat of varnish will seal the deal! If you are wondering what type of varnish to use, that is a can of worms to ponder about. Experiment with a few brands and types to see what works. I like to use a matte or a gloss spray varnish for speed. But equally good are the brush on varieties, or even final coat, which is a wipe on polymer. Oil based paints require oil based ( non yellowing ) varnishes.
Telemark Rosemaling is the traditional painting of Norway. It reached its zenith in the early 20th Century after Norwegian independence, when a revival movement popularised everything that was Norwegian. It origins date back to religious art forms and the acanthus leaf. In the isolation of the Norwegian countryside, these new fart forms slowly developed into an individual style that differed according to the valley or regions from whence they came. Examples include: Telemark, Rogaland, Hallingdal and others.
Telemark is characterised by free flowing, dynamic scrollwork, and asymmetrical designs. A good introduction to Rosemaling is found in Aarseth's Rosemaling Designs, by Sigmund Aarseth. You will also find a free pattern and project on my website: www.forestwood.webs.com
I painted a wooden Rubbish bin and I will include a small tutorial on painting and designing freehand.
Telemark Rosemaling Tutorial
You will need:
Acrylic paint
Prussian Blue
Smoked Pearl,
Warm White
Filbert or flat brush, about 1/4- 1/2"
Good liner brush, say size 1 or a Quill liner
Sandpaper #400 - #600
Wooden piece
Palette: I make mine disposable for acrylics, by wetting some ordinary kitchen paper towel and squeezing it so it is damp, and wrapping greaseproof paper over the top.
Step 1. Basepaint piece chosen colour scheme. I picked Jo Sonja's Prussian blue and lightened it down with a creamy colour ( JSonja acrylics Smoked Pearl) Two coats. Allow to dry.
Step 2. With non powdery chalk or chalk pencil, chalk in some guiding points, like the root of the design and outside border. If you don't want to paint freehand, you could chalk in the main scroll lines and use a outline for the flowers. Once you get the hang of the shape of the flowers, and what your brush can do, then you can simply mark an x for where the flower will go and its orientation.
You will find a short video here:
Design:
N.B.When designing, keep in mind Balance of shape, size and element. If you divide the design in quarters, there should be a part of the major elements in each. Each quarter should have an equal measure of postive and negative space. Look at the design upside down to distract your left brain from interpreting, giving you a fresh eyes to see any design faults.
Step 3. Load a filbert ( flat with rounded tip) or flat brush in size appropriate to the width you want the scroll to be in darkest value, on ONE EDGE ONLY. In this case: Prussian blue. On the opposite edge, load Warm white or your lightest value. Flatten the brush on the palette so that the colours mix. Repeat.
Step 4. Begin painting the scroll from the top down, applying pressure as you go, so the brush widens, and releasing pressure as you near the end of the scroll, as this will narrow the stroke at the design root.
 Step
5. Repeat the stroke if needed, and add extra shade ( the darkest
value) on the outside of the scroll, to enhance the contrast. Be
careful: Acrylics dry quickly and you may need to use a retarder medium
to slow the drying time, giving you more time to play with the design.
Step
5. Repeat the stroke if needed, and add extra shade ( the darkest
value) on the outside of the scroll, to enhance the contrast. Be
careful: Acrylics dry quickly and you may need to use a retarder medium
to slow the drying time, giving you more time to play with the design.
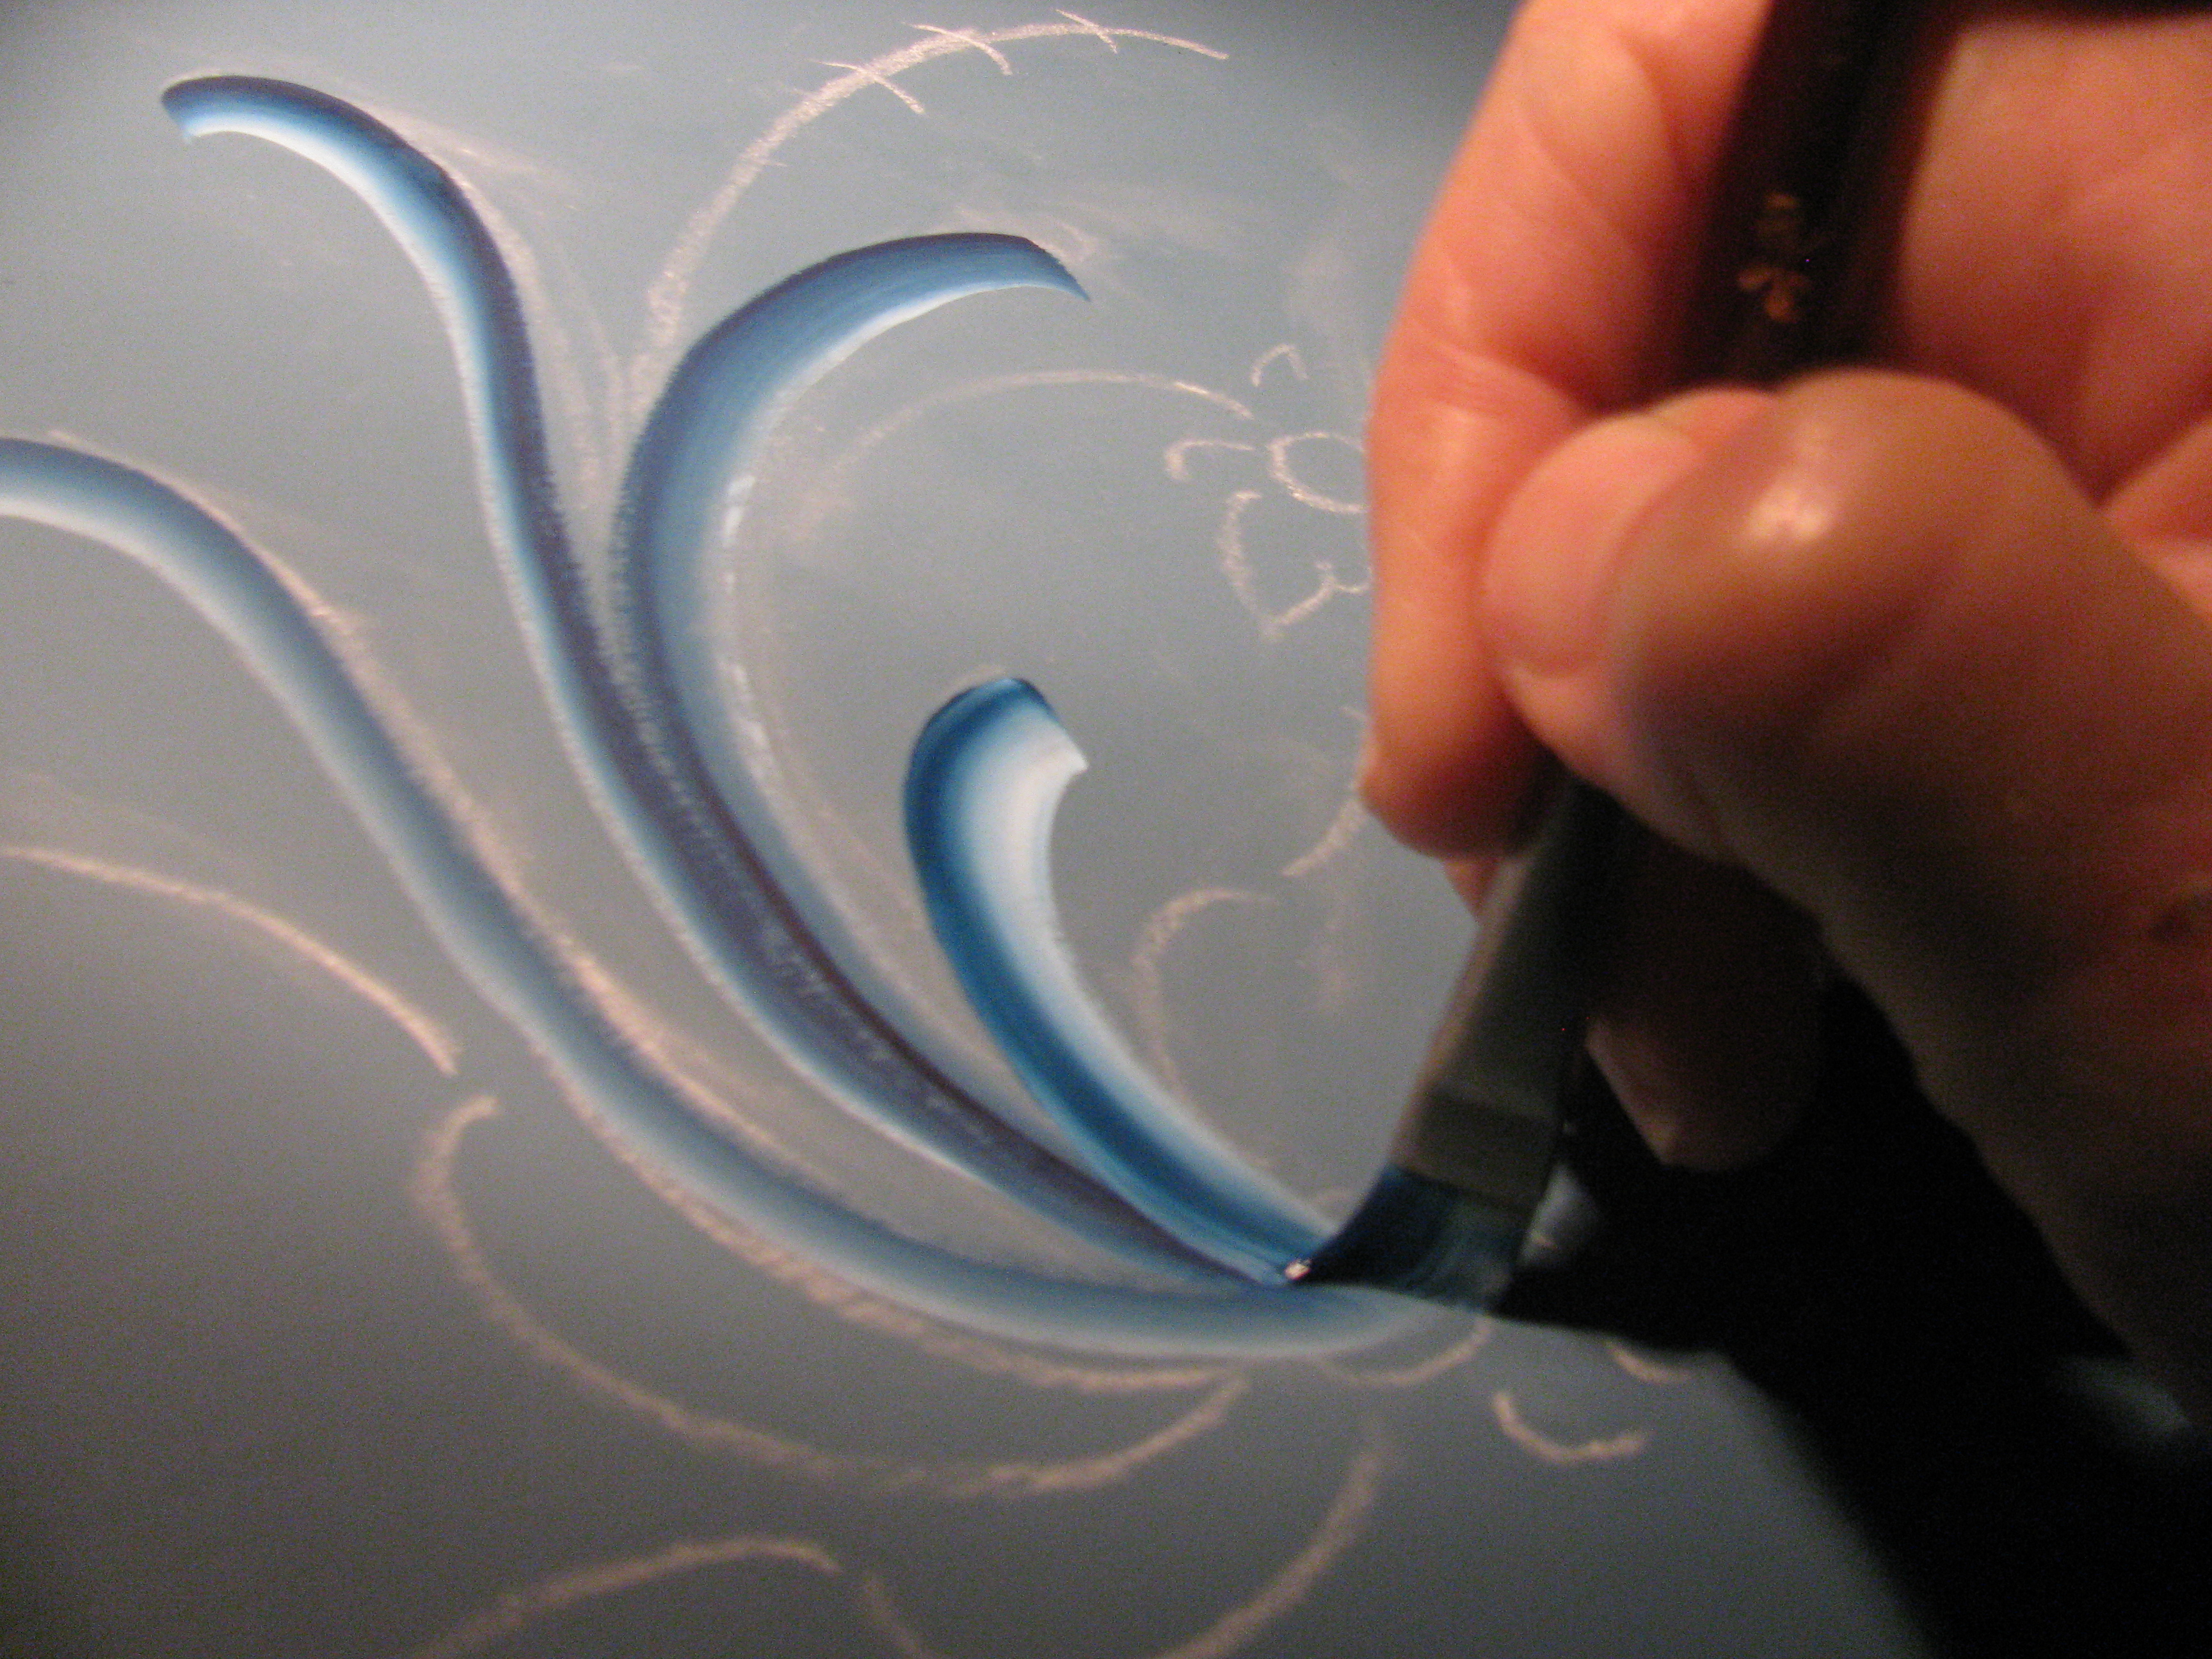
Step 7. Begin to block in the flowers using shape following strokes, comma, or leaf shape ( S and C strokes) as appropriate. These can be quite casual and double load your brush again with light value on one side and dark value on the other to give your project a natural blended look. Don't worry too much about shaggy edges here, as the liner work will tidy that up.
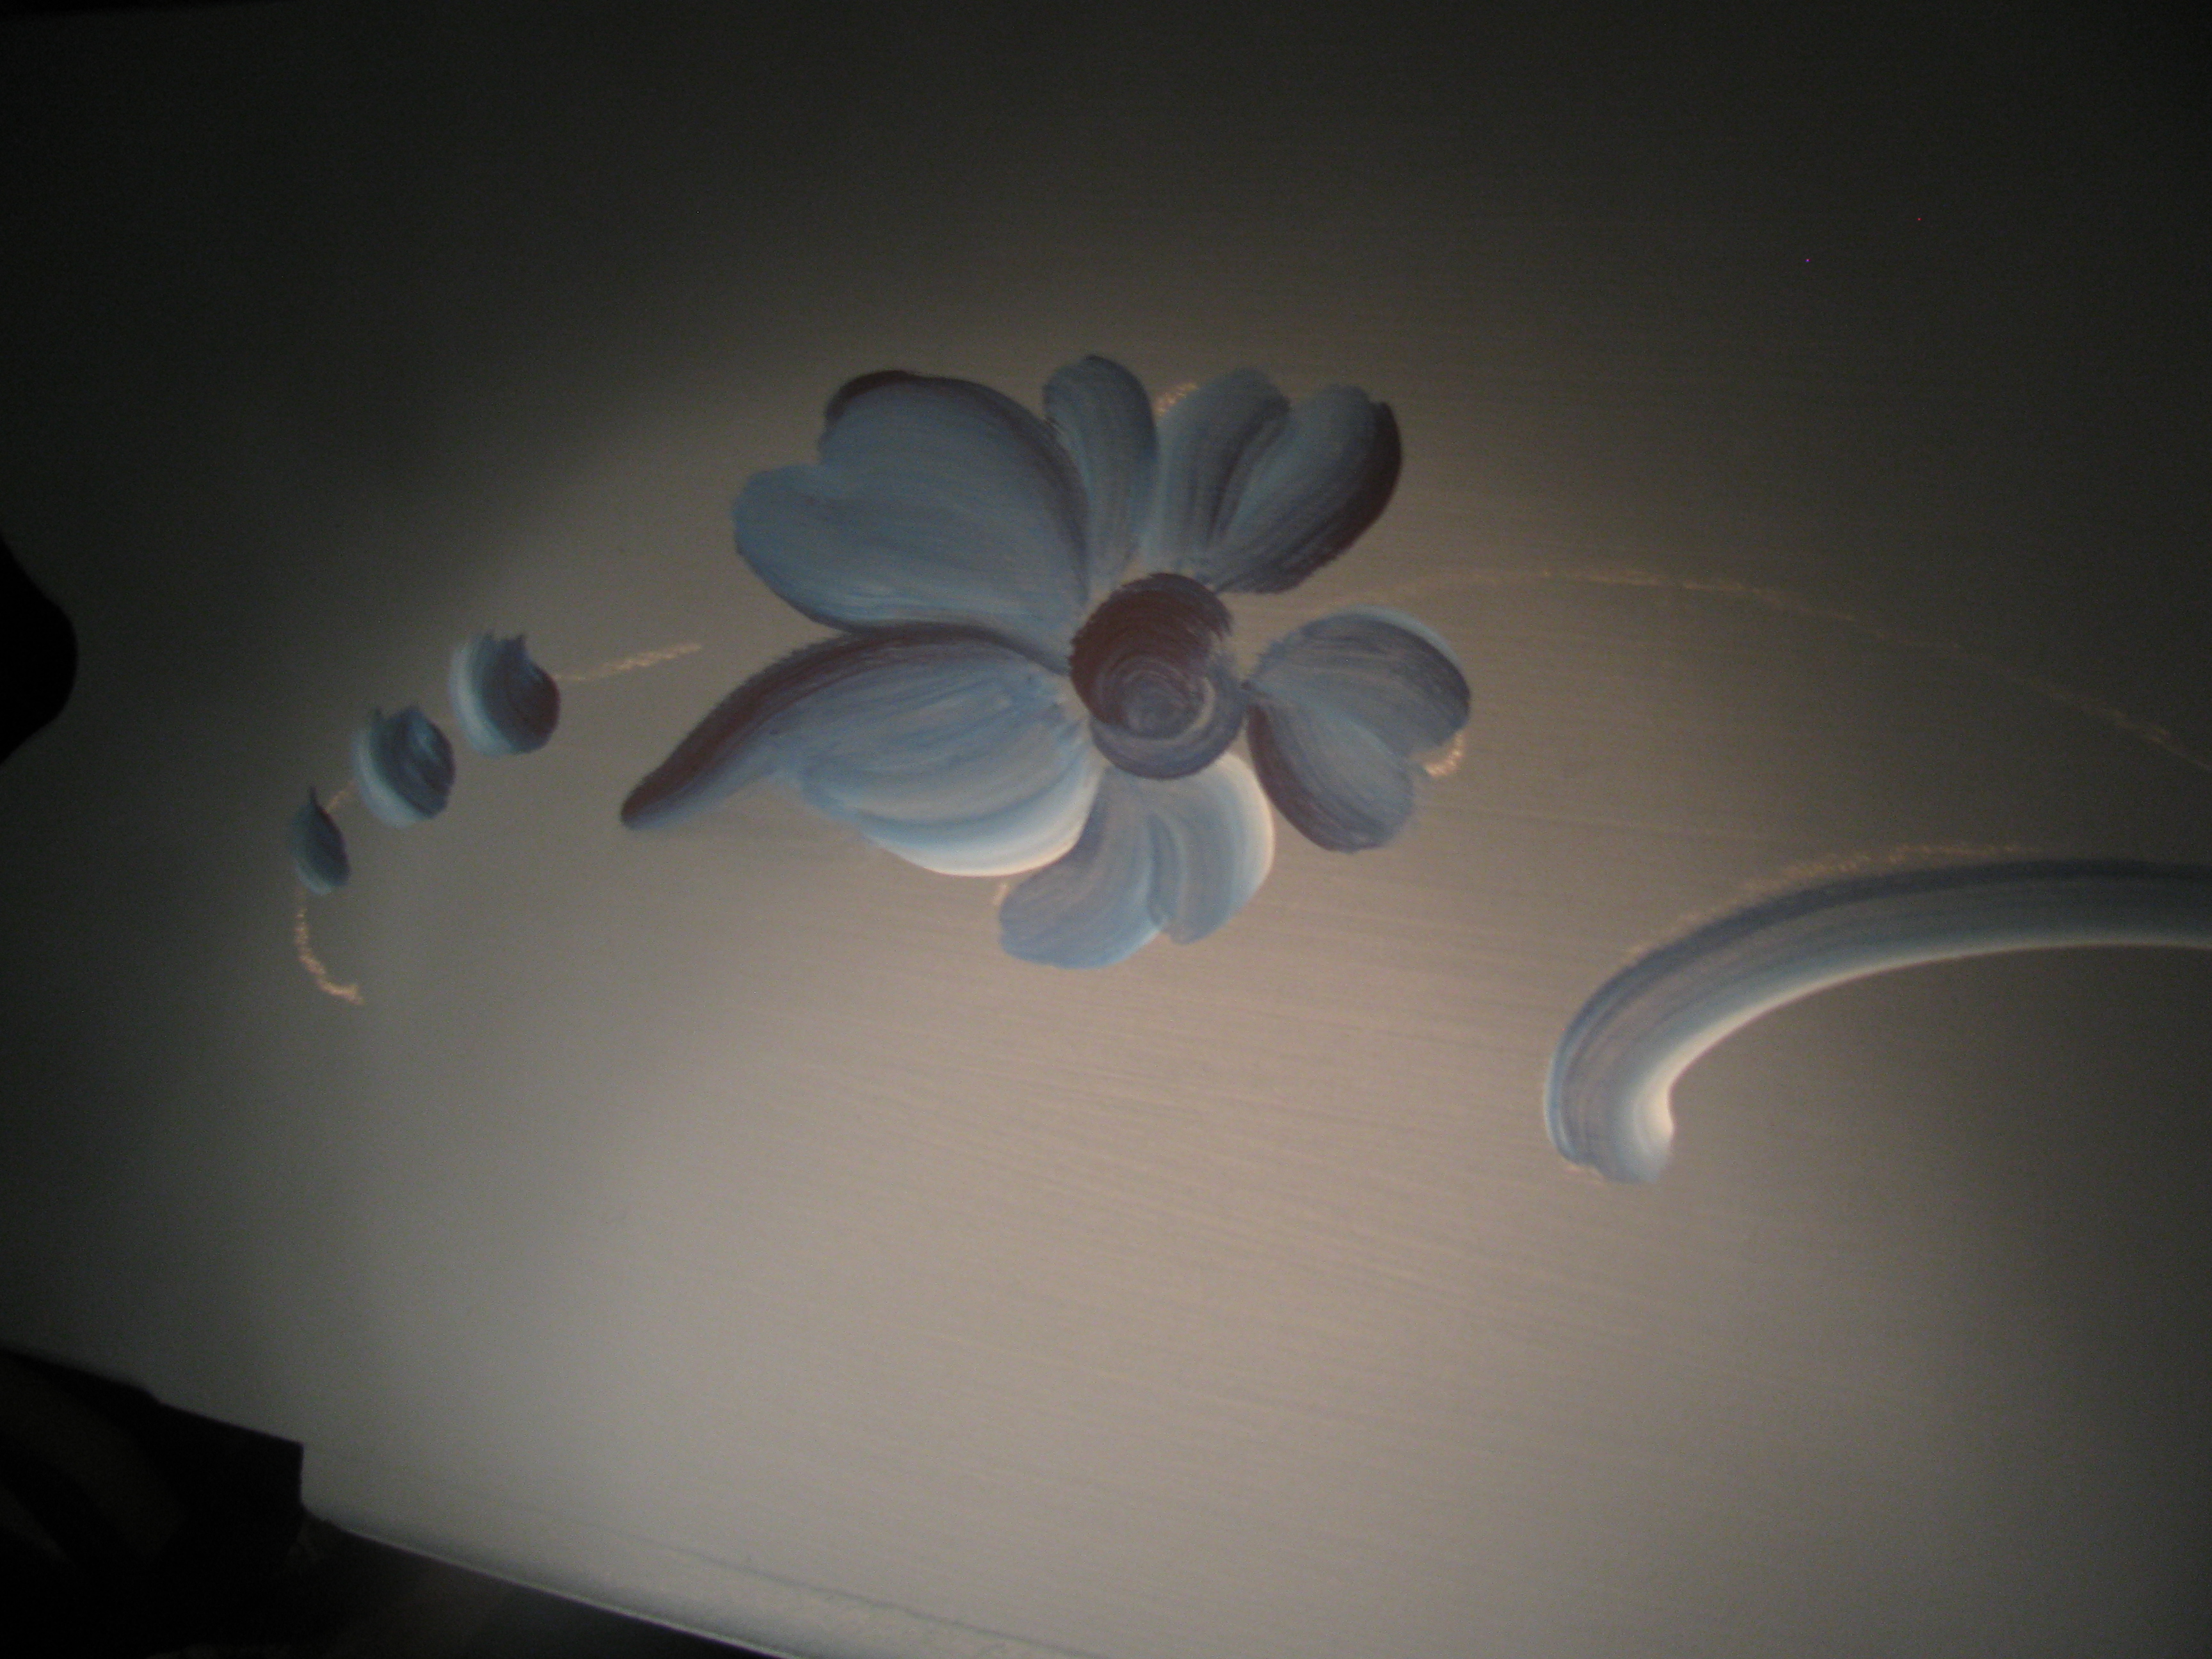
This is also a free style of painting, it is not Fine Art, and the peasants that originally painted these pieces had little or no training in artistic techniques. So don't stress trying to make it perfect when it is not meant to be so.
Try to achieve a balance of colour as you go. If the brush has blended really well and the light value is lost, add some extra warm white to your cirty brush (ie. don't rinse it clean in water, just wipe on paper towel to remove excess colour.)
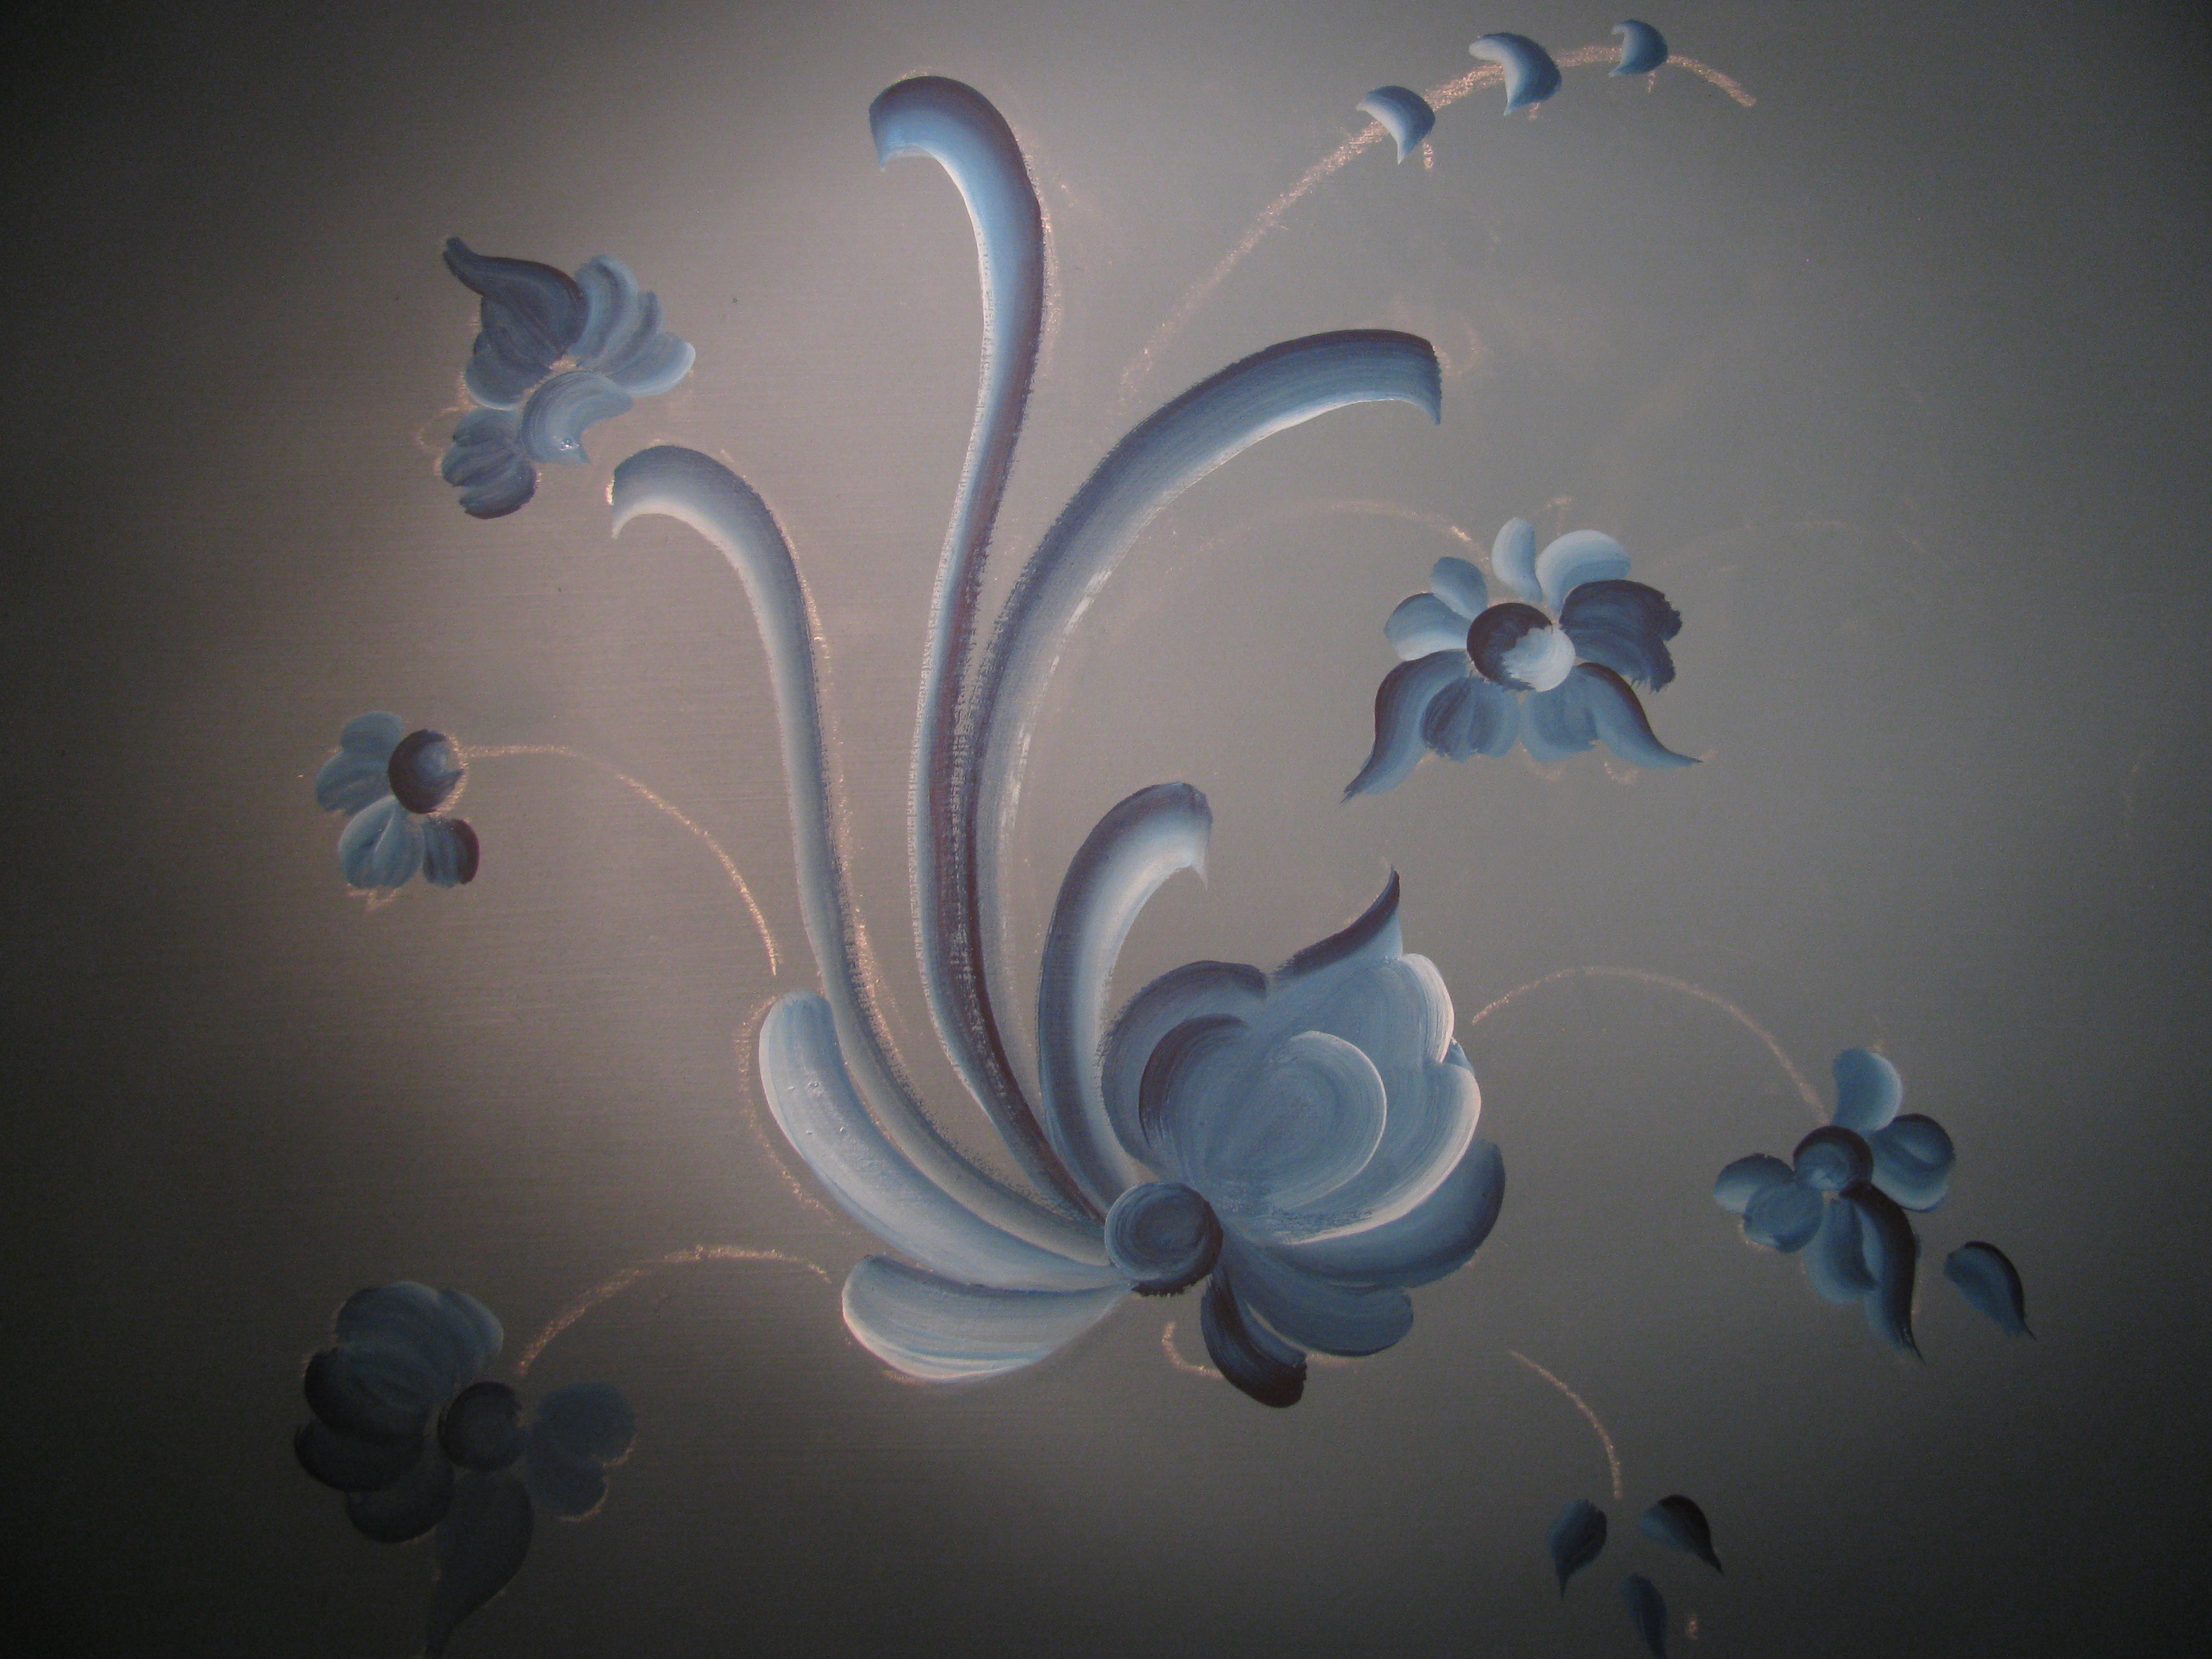
Once you have blocked in the flowers, and are happy with the distribution of colour, you can begin the liner work.
Warning: Liner work is very addictive, and it is easy to get carried away with the embellishments and make the design too busy. Beware! You can always add an extra stroke, later, but rubbing out can ruin a design.
You may also like to try adding something like flow medium to your paint to do some liner work. This will help a beginner. Practise a little on scraps of wood or paper first to get the hang of the brush.
Step 8. Scroll Details
Begin by adding enough water to your paint puddle to ensure a inky consistency. Load the brush in the paint and pull it through twisting it gently a little before you lift it from your palette. Place tip on project and gradually increase the pressure allowing the brush to widen the stroke, then release the pressure as you direct the brush tip towards you.
N.B. For best results, liner work should vary in thickness. The last thing you want is for all the outlines to be the same thickness. Variation creates interest in the design.
Outline all the scrolls in a casual manner. Try to move your arm as opposed to just your hand. This helps to create a sense of movement. Be confident. You can clean up any errors, carefully with a cotton bud or Q-tip.
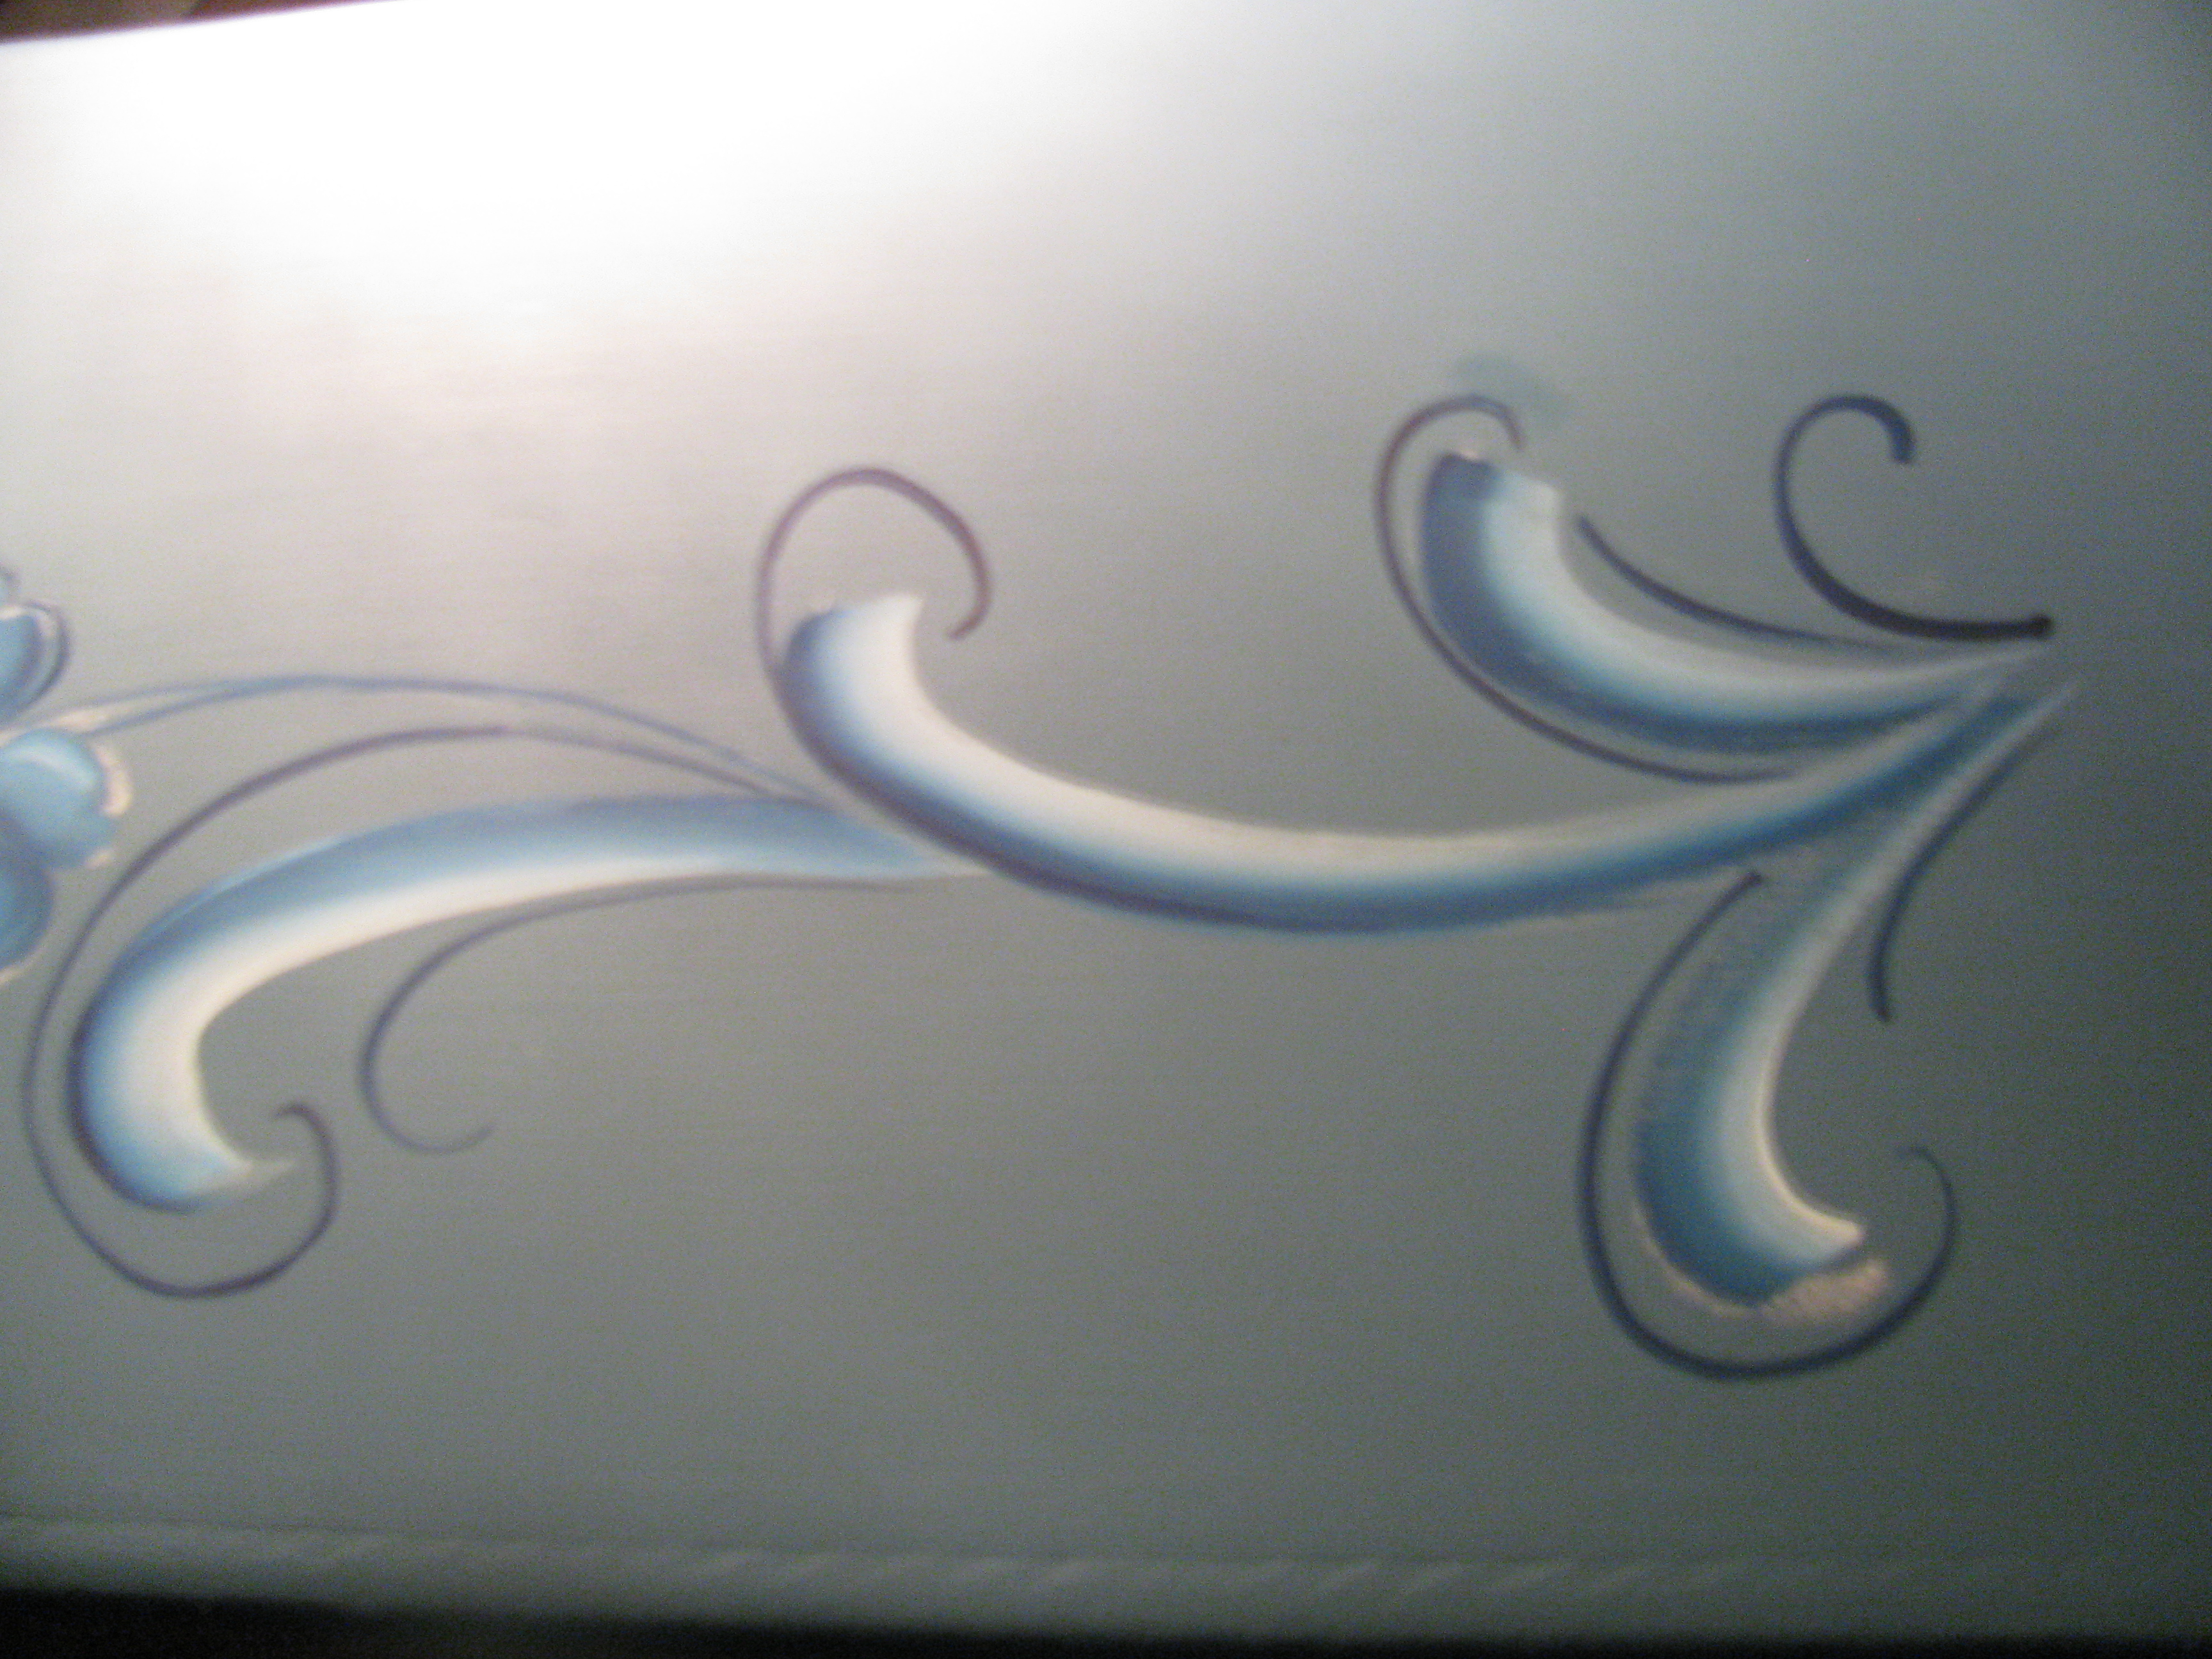


Step 10. Flower details
Outline flowers in same technique with your liner brush. Be individual and don't follow the same outline each time.
Step 11. Embellishments
Add some small detail strokes with a quill or liner brush. They are completed similar to a reverse comma. Starting off with very light pressure and pressing fully down on the completion of the stroke. I double loaded this brush in the picture here, first loading in blue and then dipping the tip of the brush in white. This gives a white stroke with a blue tip. This stroke is very typical of what you see in traditional rosemaling works. Know when to stop. Overdoing it can make a design look too busy!!
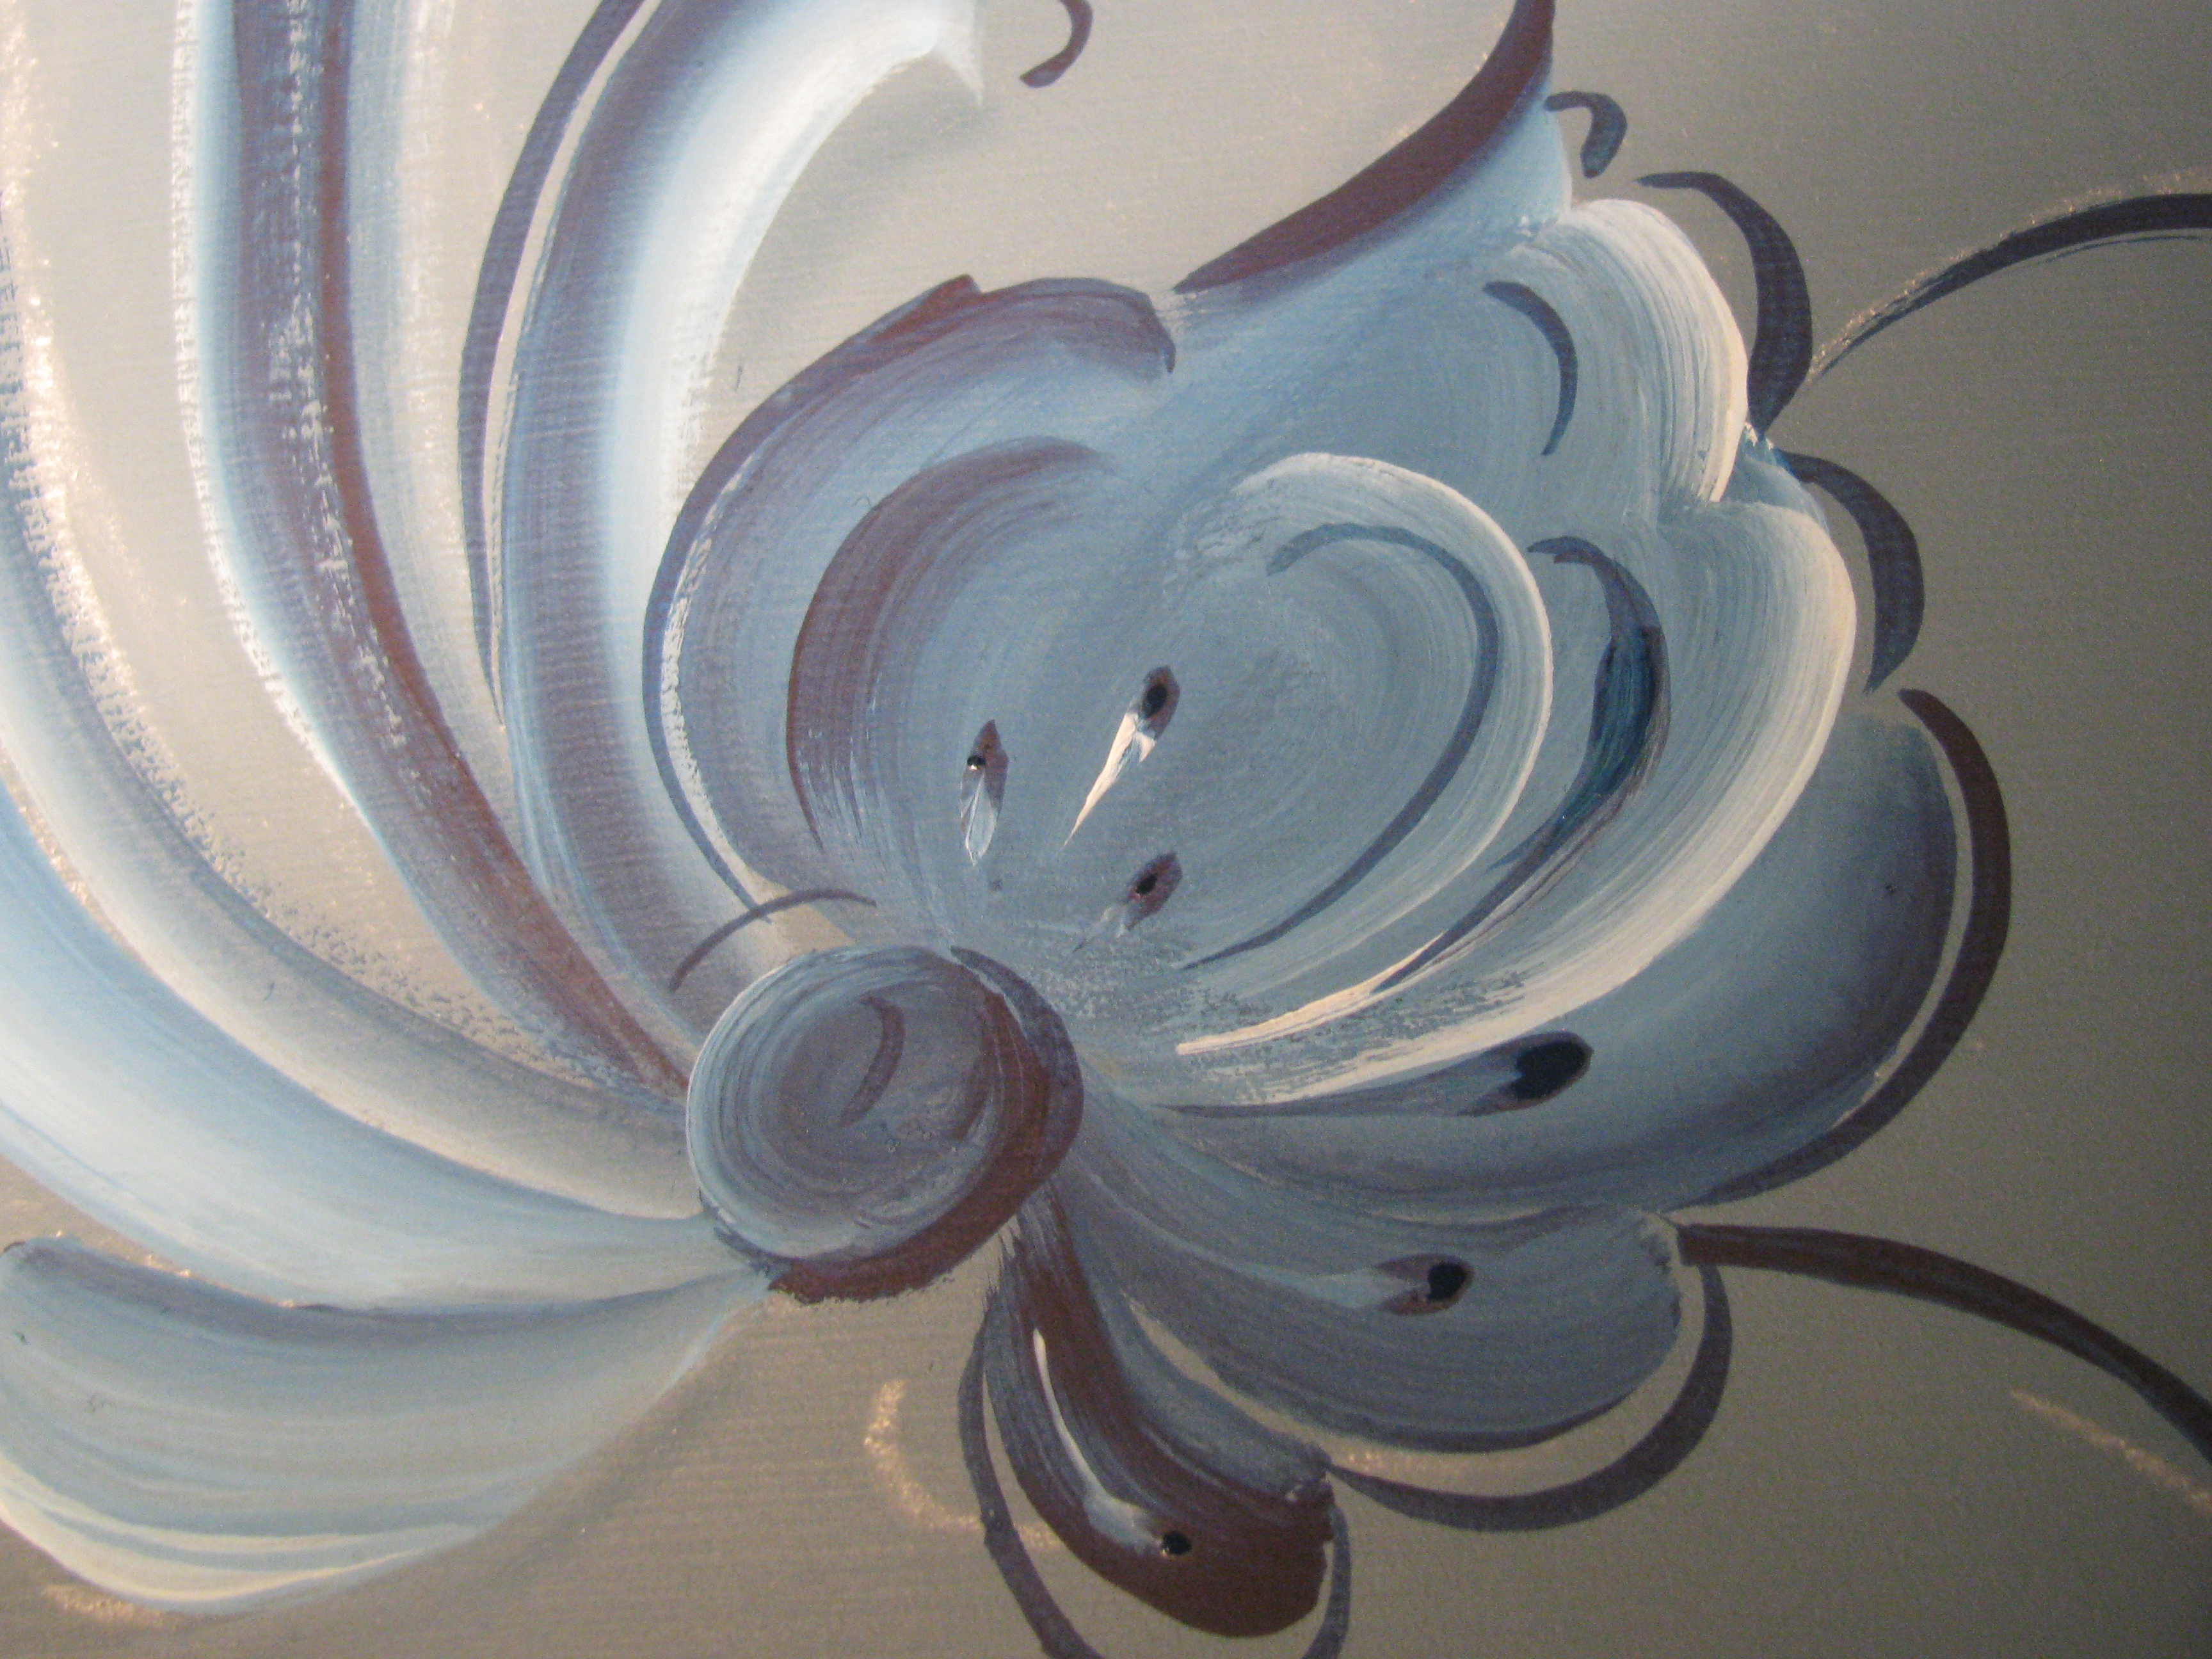
Now you have it! Almost all Rosemaling works have a border design, which can be as individual as you like. I used s strokes around the edges of my box.
All you need to do is allow time for the paint to dry - which can be anything from 2 days to a week depending on weather conditions, oils can take up to 6 weeks to fully dry.
Then a coat of varnish will seal the deal! If you are wondering what type of varnish to use, that is a can of worms to ponder about. Experiment with a few brands and types to see what works. I like to use a matte or a gloss spray varnish for speed. But equally good are the brush on varieties, or even final coat, which is a wipe on polymer. Oil based paints require oil based ( non yellowing ) varnishes.




 Posts
Posts


